
Your first card
Create your first task in Kard. By the end, you’ll have a task with a title, a status, and saved to your project — visible on screen.
Kard is local-first: your Kards are stored as standard assets inside your project, so there’s no account or server to set up. New here? The vocabulary (Kards, folders, statuses) lives in Core concepts.
Before you begin
Section titled “Before you begin”You need:
- Kard installed and enabled — see Installation.
- An Unreal project open.
- An account created. See Accounts section in Installation.
Step 1 — Open Kard
Section titled “Step 1 — Open Kard”Click the Kard button in the level-editor toolbar.
Kard opens as a single dockable tab titled Kard.
Step 2 — Create a task
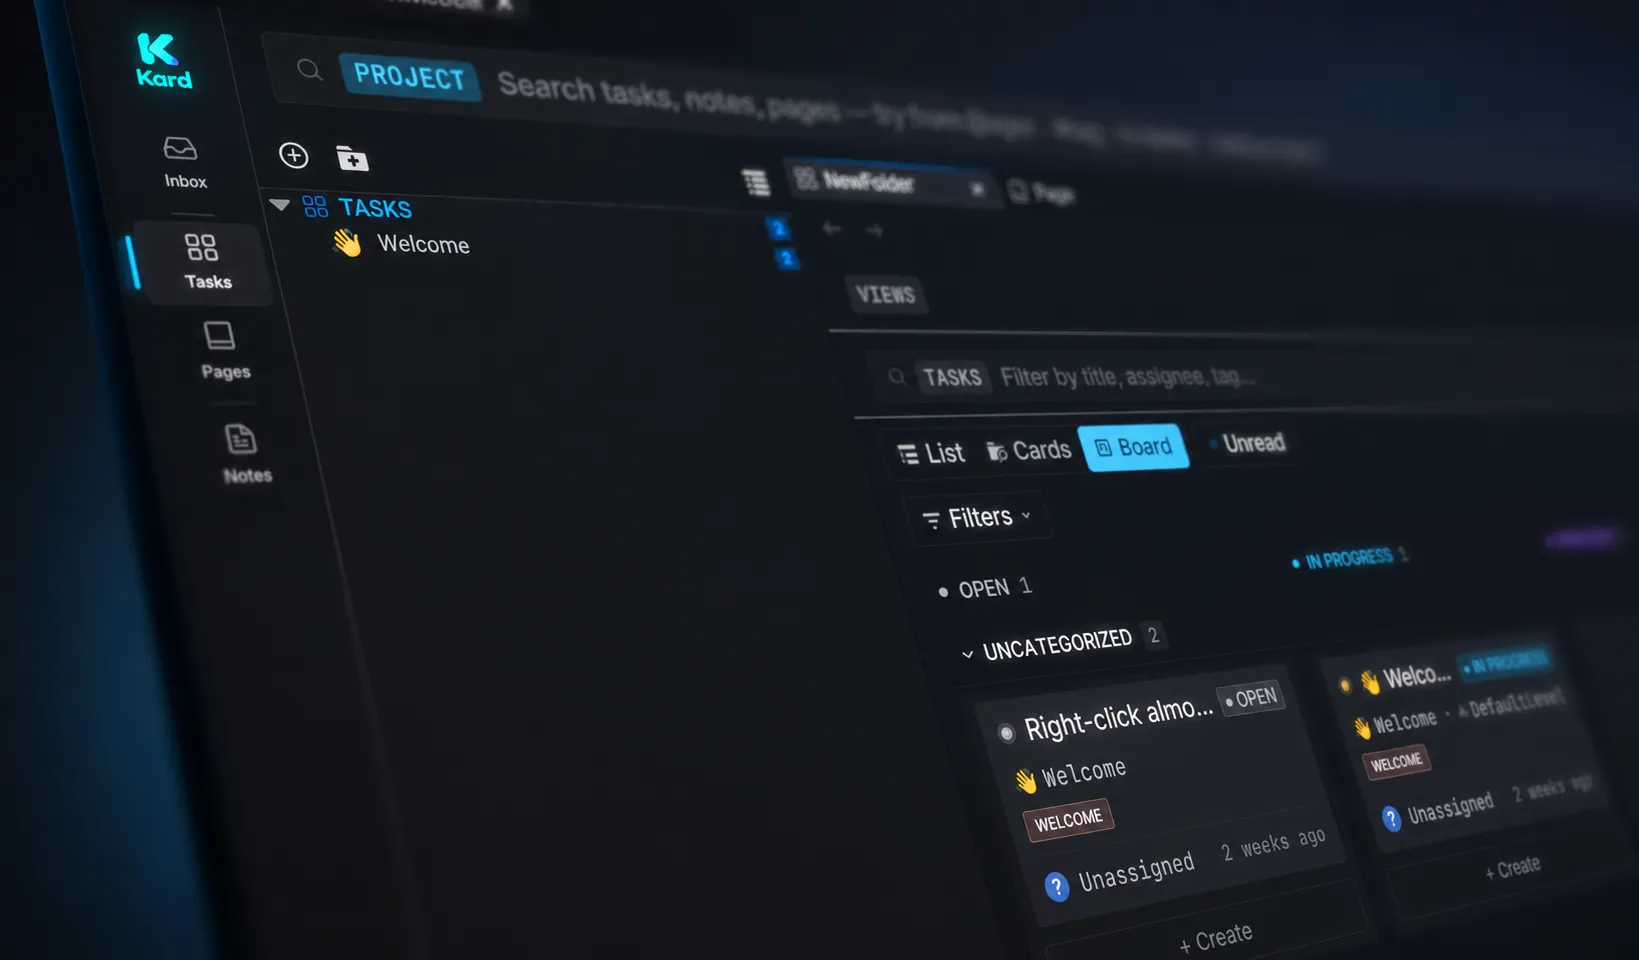
Section titled “Step 2 — Create a task”In the Tasks section, click + Add Task.
A new task appears, opens in a drawer, and is ready to edit.
Step 3 — Name your task
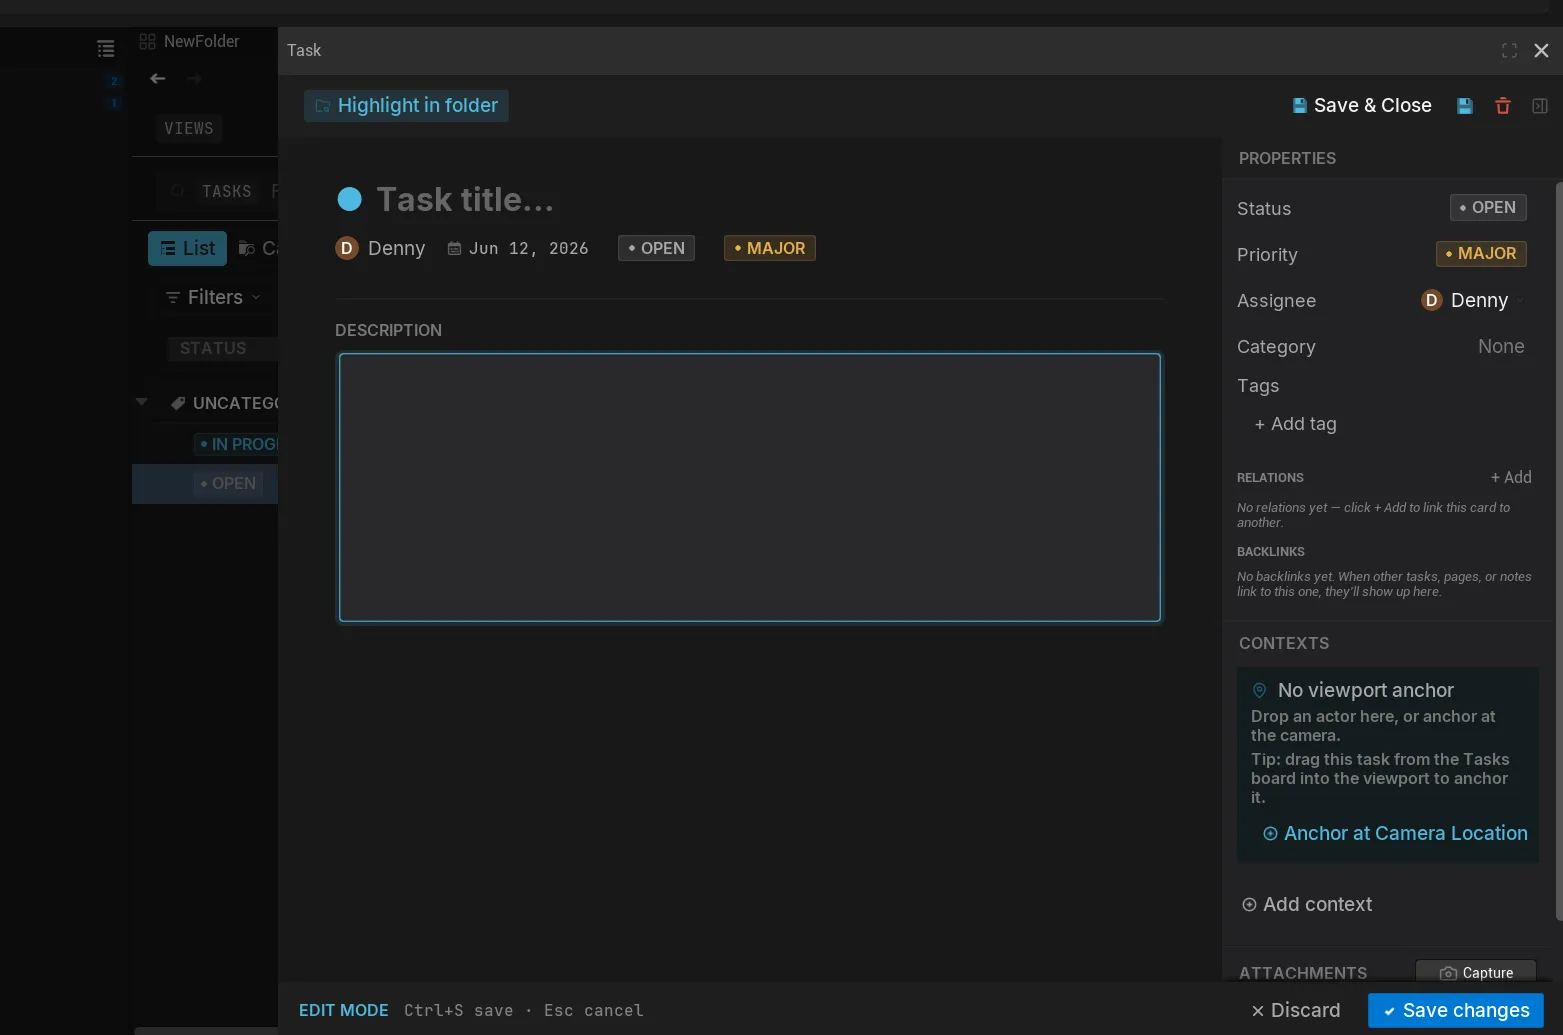
Section titled “Step 3 — Name your task”In the detail drawer that just opened, type a title.
A new task starts untitled. Give it a title by simply typing in the title section.
Step 4 — Set its status
Section titled “Step 4 — Set its status”In the detail side bar, open the status dropdown and pick a status.
A new task starts at the first status in its folder’s workflow — Open by default.
Feel free to play around with all the other task settings.
Step 5 — Save your task
Section titled “Step 5 — Save your task”Press Ctrl+S to save the task to your project. Or simply press the Save button.
Your task is now written to disk as an asset, alongside the rest of your project files.
You did it
Section titled “You did it”You’ve created your first Kard task — titled, with a status, and saved to your project. It now shows in the Tasks list, ready to flesh out.

Related Reads
Section titled “Related Reads”- Create & edit Kards — fill in descriptions, attachments, and more.
- Folders, boards & columns — organize tasks and set up workflow columns.
- Core concepts — the handful of ideas the rest of the docs build on.